Tasks in Upbase ✅
IN THIS ARTICLE:
Tasks help you plan, track, and complete your work in Upbase. You can organize tasks inside projects, group them into sections, and keep track of everything you’re responsible for in My tasks.
Quickly add a new task
You can create a new task at any time using one of these methods:
- Click the Grid icon in the top bar, then select New task
- Press Q on your keyboard to open the new task window instantly
This helps you capture tasks quickly without leaving what you’re working on.

Private tasks
Private tasks are tasks that belong only to you.
When you create a new task without adding it to a project, Upbase automatically makes it a private task.

How private tasks work
- Private tasks are only visible to you
- Other members cannot see or access them
- They don’t appear in any project
Private tasks are useful for personal to-dos, reminders, or work you don’t need to share.

Where to find private tasks
You can manage your private tasks in My tasks, along with other tasks you created or were assigned to.
Good to know
- Only the task creator can see a private task
- You can move a private task into a project at any time
- Once added to a project, the task is no longer private
Task sections
Sections help you organize tasks within a project by grouping related work together.
You can use sections to represent workflow stages or categories—for example, To do, Doing, and Done—to easily track progress.
Default section
Every new project includes a Default section.
Important things to know:
- The Default section always exists
- You can rename it at any time
- You cannot delete it (There's no "Delete" option in the Default section).

My Tasks
My tasks is your personal task list. It shows all tasks that matter to you, no matter which project they belong to.
My tasks includes:
- Tasks you created
- Tasks assigned to you

Why use My tasks
Use My tasks to:
- Stay focused on your responsibilities
- Avoid switching between projects
- Track deadlines and priorities quickly
Any update you make in My tasks (like completing a task) is automatically reflected in the original project.
Task views
Upbase offers five task views to help you visualize and manage work in different ways:
- List view
- Board view
- Timeline view
- Calendar view
- Planner view
List and Board views
Inside a project’s Tasks module, you can switch between List and Board views.
To change the view:
- Open a project
- Go to Tasks
- Click the Gear icon in the top-right corner
- Select List or Board

Timeline, Calendar, and Planner views
The Timeline, Calendar and Planner views are available in the Schedule module.
Use these views to:
- See tasks over time
- Track deadlines and schedules
- Plan upcoming work visually

Task details
The Task details panel gives you everything you need to manage and update a task in one place. From here, you can connect the task to projects, follow updates, and add related work.

1. Projects
This shows which projects the task belongs to.
- A task can belong to one or multiple projects
- You can also leave a task without any project, which makes it a private task
- Private tasks are only visible to you (the task creator)
You can add or remove projects at any time.
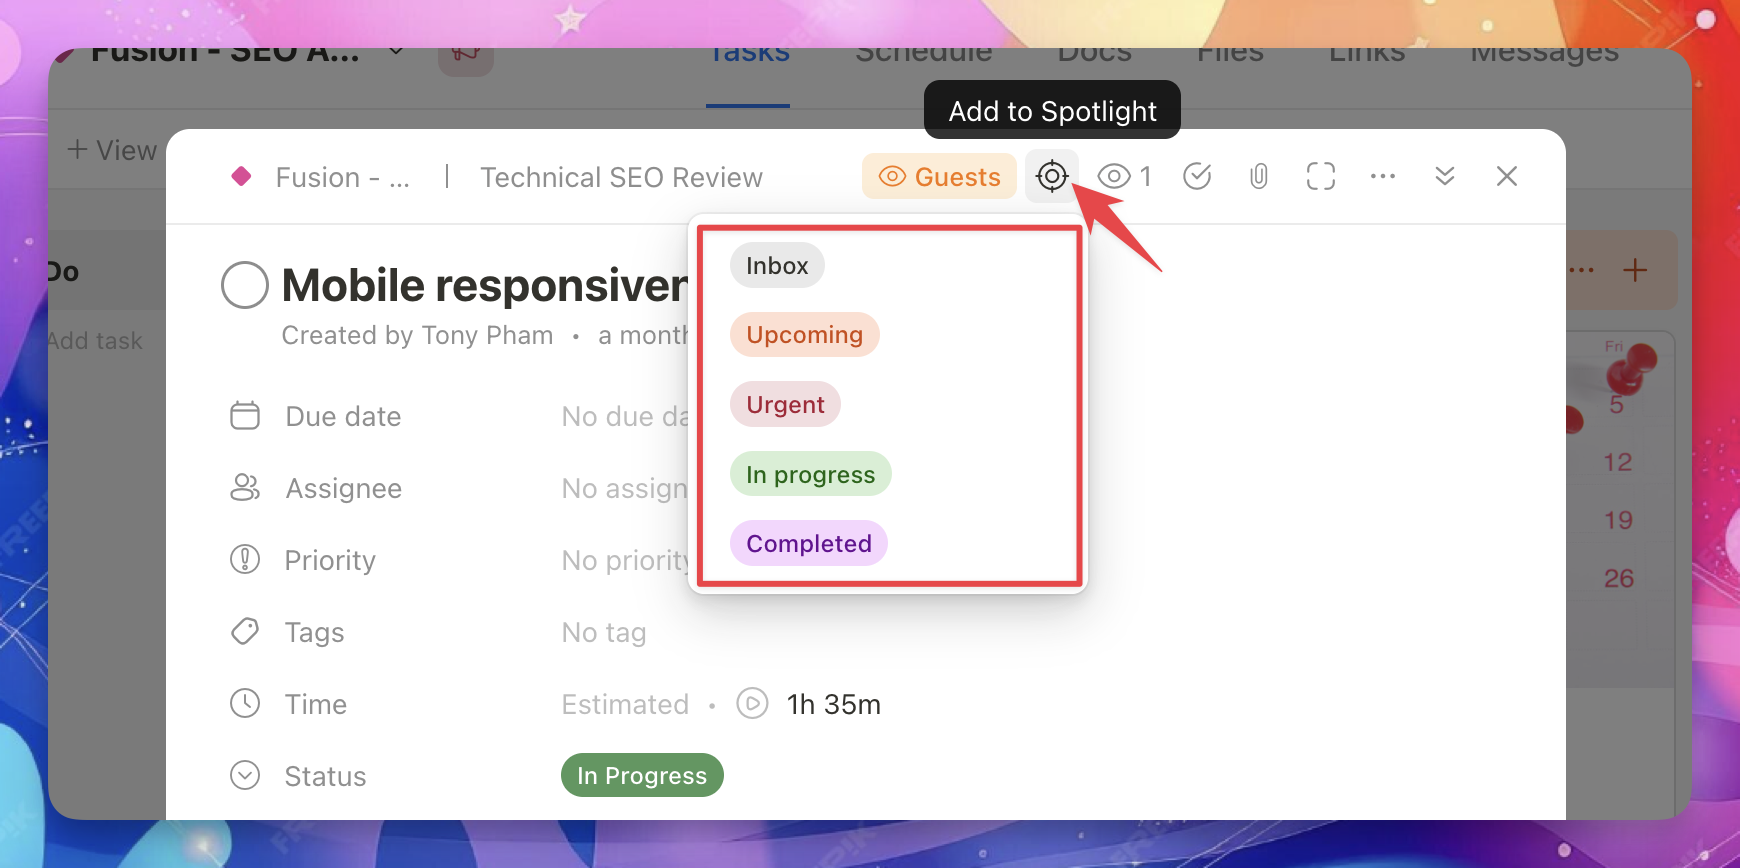
2. Add to Spotlight
Spotlight lets you quickly access important tasks. Use Spotlight for tasks you work on frequently or need quick access to.
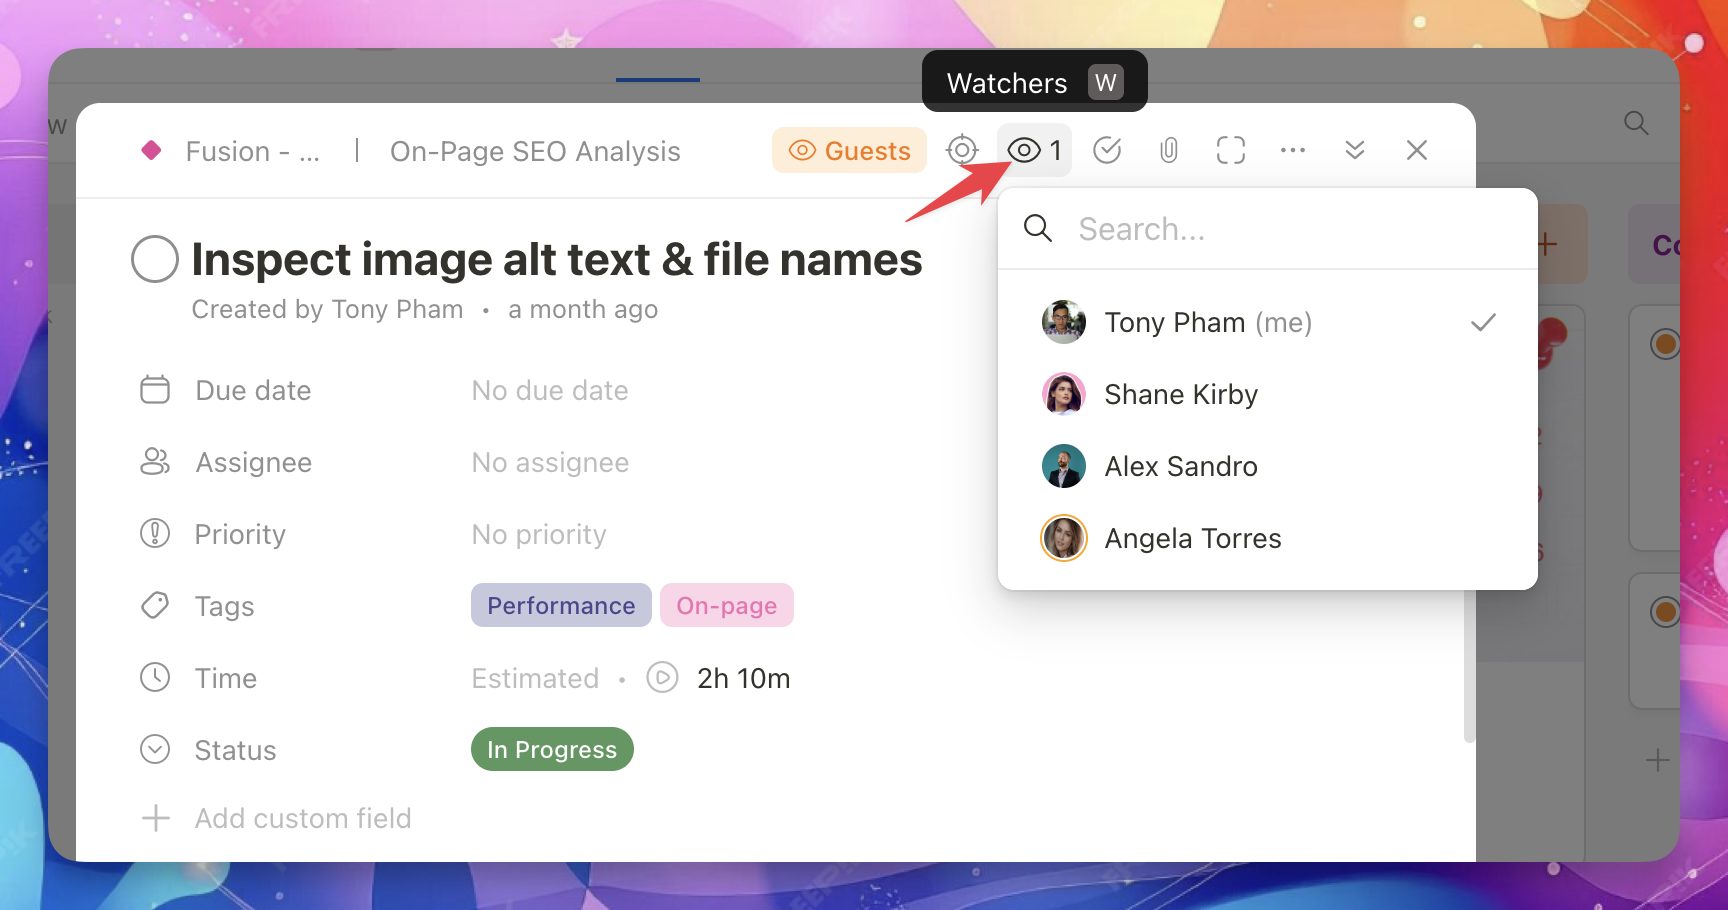
3. Watchers / Followers
Watchers (or followers) are people who receive notifications about updates to a task. This is useful when someone needs visibility but isn’t responsible for the task.
When someone is added as a watcher, they’ll be notified about:
- Due date changes
- Assignee or priority updates
- New comments
- New attachments
- When the task is marked as complete
- Changes in custom field values (if notifications are enabled for that field in custom field settings)
Automatically added as a watcher
You’ll be automatically added to the watchers list if:
- You created the task
- You are assigned to the task
- You are mentioned in a comment
This ensures you never miss important updates on tasks you’re involved in.
4. Draft subtasks with AI assistant
You can use the AI assistant to quickly break a task into subtasks.

This helps you:
- Save time planning work
- Avoid missing important steps
- Turn large tasks into smaller, actionable items
You can review the suggested subtasks before adding them.
5. Relation
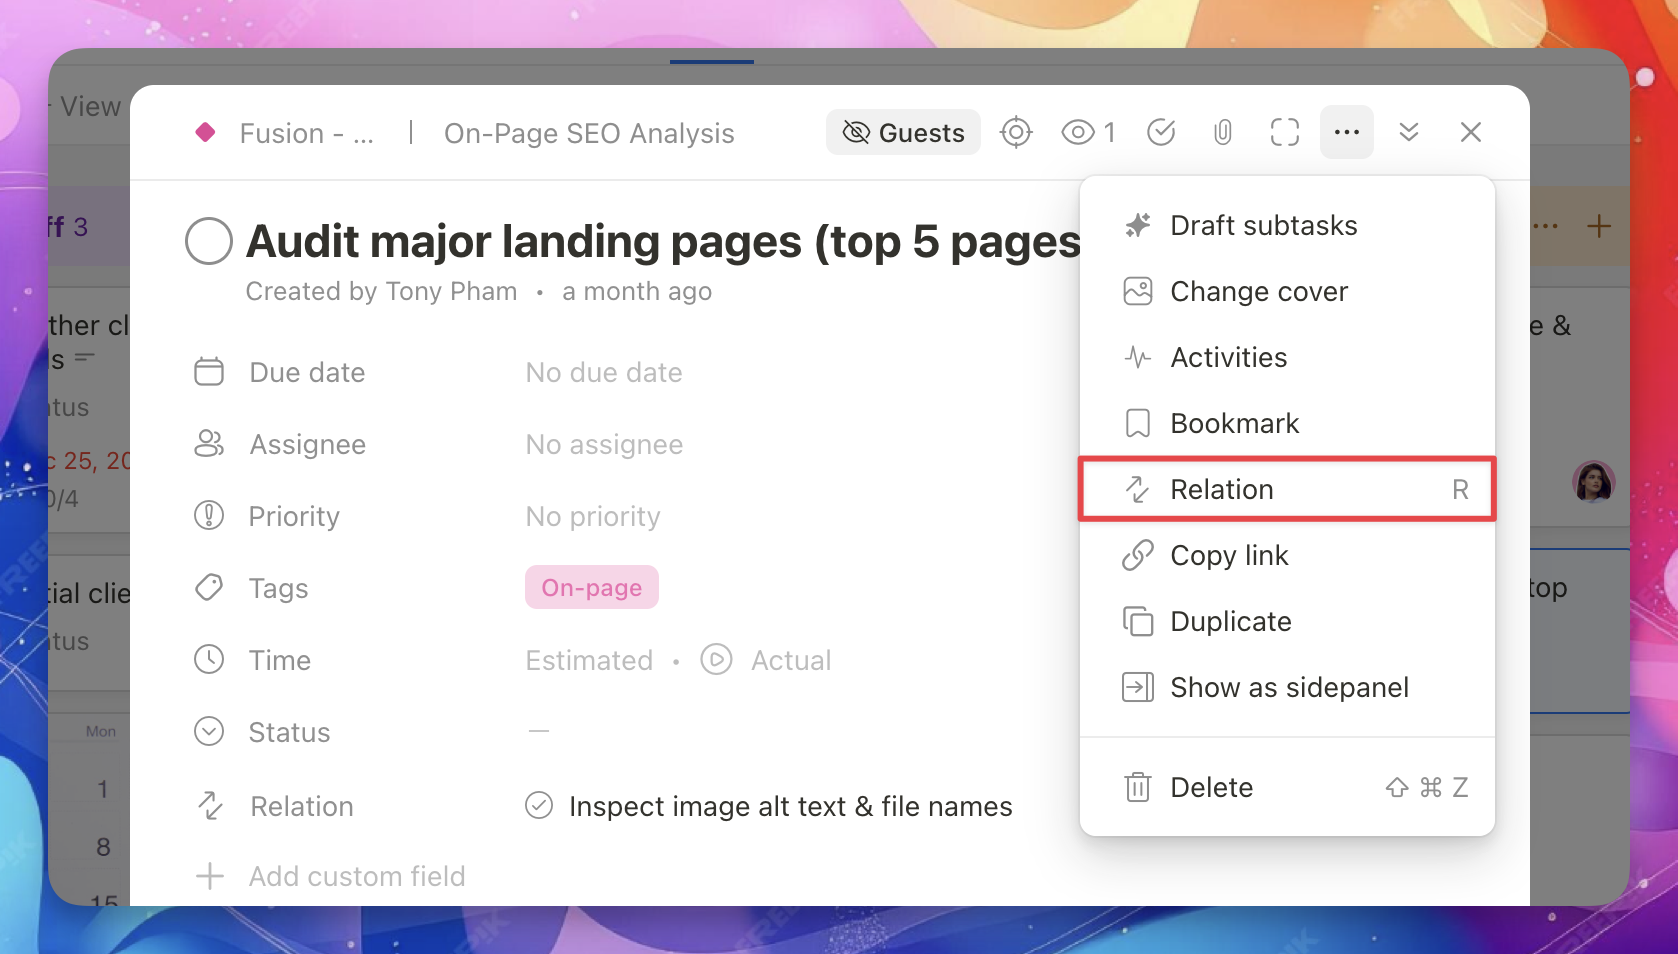
Relation let you connect a task to other items, such as:
- Related tasks
- Documents
- Files
These links help keep related work connected and easy to find.
Tip: In the task details panel, press R on your keyboard to quickly open the Relation modal.

Subtasks
Subtasks help you break down larger tasks into smaller, actionable steps.
Create subtasks
Click the Add subtasks icon at the top right of the task details pane, or press S to quickly add a subtask.

Subtask structure
Subtasks cannot be nested. You can only create one level of subtasks (subtasks within subtasks are not supported).
Show or hide completed subtasks
Click the subtask count to the right of the Subtasks label to show or hide completed subtasks.

Subtasks and guests/clients
When a parent task is shared with guests or clients, all of its subtasks are automatically shared with them.
Convert subtasks to tasks
Click the ellipsis (⋯) icon to the right of a subtask and select Convert to task to turn it into a standalone task.

Group tasks
By default, tasks are grouped by section. You can change this at any time tús by due date, assignee, priority, or any dropdown custom field, depending on how you want to view your work.

Set up your project workflow
There are two simple ways to organize how work moves through a project in Upbase. Choose the option that fits your needs.
Option 1: Use sections
Sections are the easiest way to set up a workflow.
Group tasks into sections such as To do, Doing, Review, and Done to visualize progress at a glance. This approach works well for most projects and is quick to set up.
Option 2: Use a Status dropdown custom field
For more flexibility, you can use a dropdown custom field to manage task status.
Create a Status dropdown with options like To do, Doing, Review, and Done.

This lets you:
- Filter tasks by status
- Group tasks in different views
- Use the status for reporting

You can also make this a global custom field to reuse the same workflow across multiple projects.
After setting it up, group tasks by the Status field to see your workflow in action.

Learn more: Task custom fields