Filter tasks within lists
This feature is designed to help you focus on what truly matters and can significantly reduce the time spent on task navigation and creation. Let's dive right in.
Adding filters
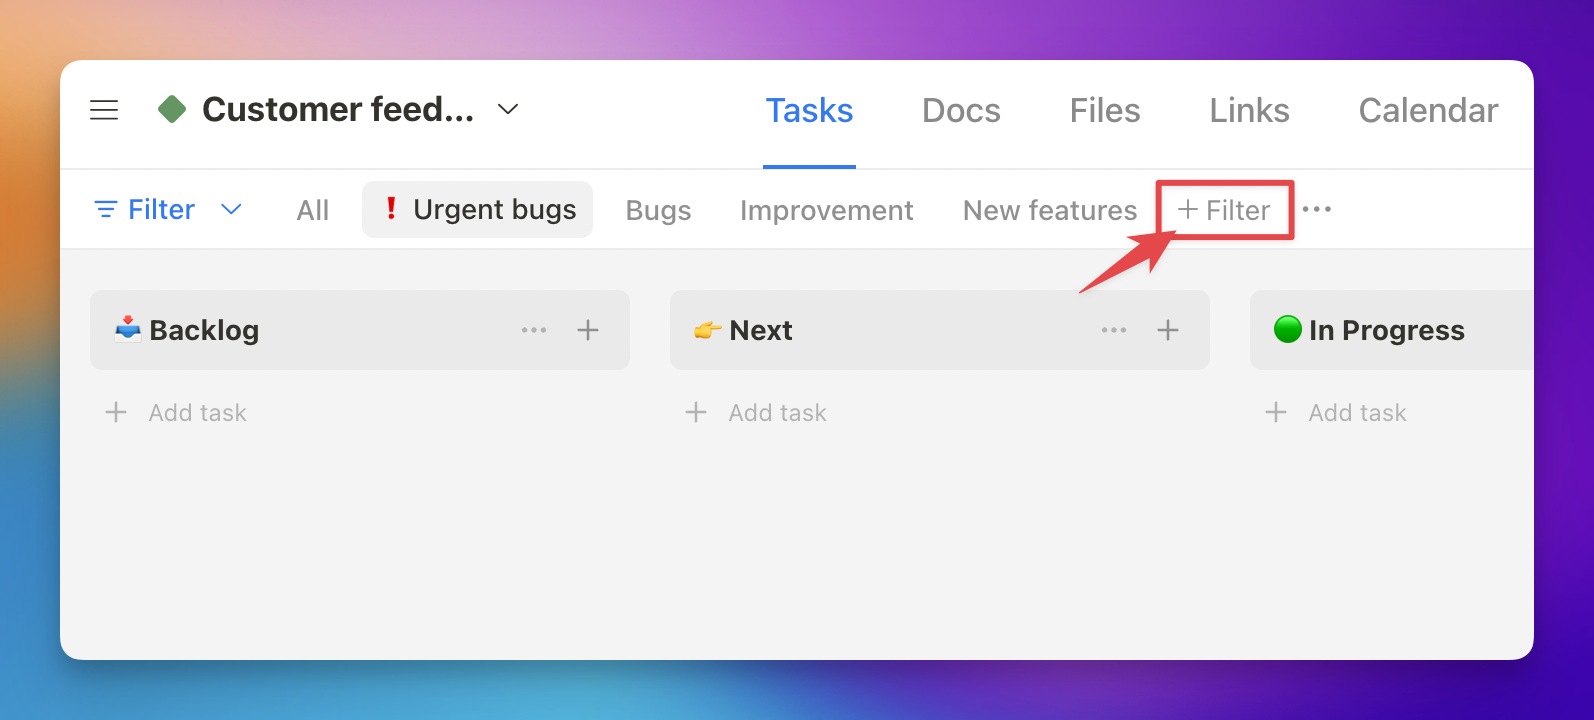
To make the most of this feature, you'll want to start by adding saved filters to the top bar. To save a filter, simply click the "Add filter" button:
In the filter popup, select the conditions you wish to filter by, and then click "Save filter":

Next, enter a name for the filter in the subsequent popup. You also have the option to mark the filter as private if you prefer to keep it hidden from other list members.

Editing and Deleting Filters
To edit or delete a filter, click the downward arrow icon located next to the filter button. Within this popup, you'll find all the saved filters created by you and other list members.

Note:
- Any list member can edit or delete a public filter. Only the filter creators can choose to set filters as private or public.
- The ability to create private filters is only available on the Premium plan.
- Filters are not visible to guests.
Now, you're going to love the next two features:
Adding new tasks with a desired assignee, tags, priority, and due date with a single click
In a saved filter view, when you add a new task, all the selected conditions from that filter will be automatically applied to the task.
For instance, let's consider a filter named "Urgent bugs" with the following conditions:

Now, let's add a new task:

As you can see, I didn't have to manually set the assignee, tags, priority, or due date individually, which saved me from making 4-8 extra clicks!
Make use of this handy feature, and you can save a significant amount of time when adding tasks.
Note: To ensure this feature works correctly, there's one limitation to be aware of - you can't select multiple criteria with the "OR" condition as in the workspace filter.
Customizing the saved filter menu based on your personal needs
Each member in the list may have a unique set of filters that they prefer to use. So, the menu should be personalized to meet individual needs, and we've got you covered!
To personalize your menu, click on the ellipsis icon located on the right of the menu. In the popup, you can choose to show/hide and reorder menu items as desired. These changes will apply only to you; other members can have their own settings.

It's important to mention that the most recent filter view in each list is automatically saved. When you come back to the list, you won't have to navigate back to where you left off.